Create a test#
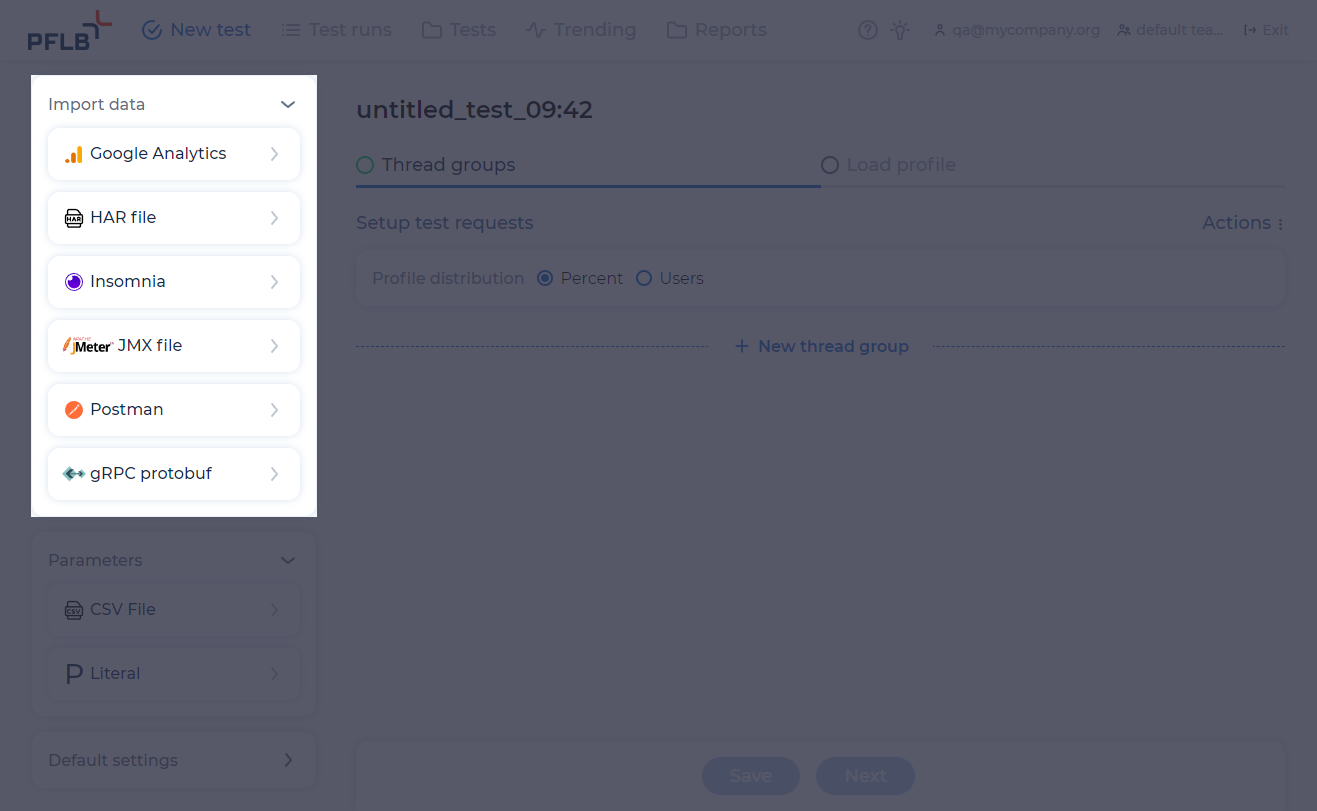
Create a test on the New test page:

Set profile distribution#
PFLB Platform has two modes of distribution of virtual users. In the Percent mode, it’s easy to configure a test, while in the Users mode, you can design tests independently for each group.
Select the mode of distribution of virtual users:
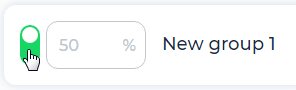
Percent. The distribution of virtual users between groups is set as a percentage:
Enter the percentage of users for each group. The sum should be equal to 100%.
Click the Distribute users automatically toggle. If enabled, users are evenly distributed between transactions.
Users. Design test for each group.
Note
If you configure the load for several groups in Users mode, and switch a test to Percent mode, then the group settings will be lost.
Create a group#
A group is a hierarchically ordered set of elements describing the execution of a single atomic test scenario (Use Case). The group can include transactions, HTTP requests and logical elements such as conditions and loops. Logical elements allow you to customize the variability of the test scenario. Transactions send HTTP requests during test execution in the specified order.
You can create groups manually or automatically, by importing and copying previously created groups.
Create a group manually#
Click + New thread group.
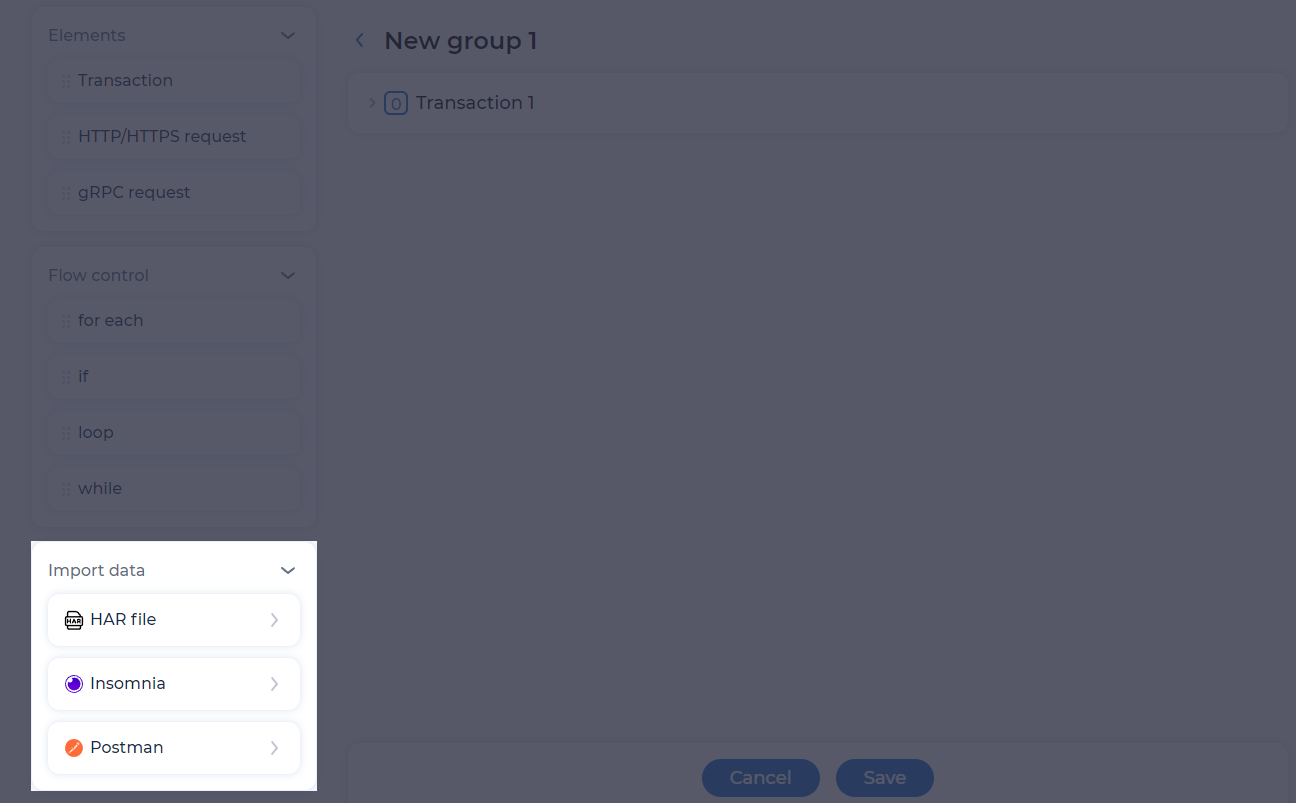
Go to the group or click
 . The editor opens:
Add HTTP request or gRPC request.
Use Drag & Drop to add transactions if needed. You can place it on the top level or inside another transaction.
Click Save.
Import data#
In PFLB Platform, you can import data from:
To import data into a test, in the Import data pane, click on the one of the buttons:
To import data into a specific group, go to the group and click on the one of the buttons in the Import data pane:
Copy groups#
You can create a group based on another one.
To copy a group, click  for the previously created group.
The new group will be called “copy <Name of the original group>”.
Enable and disable groups#
After creating a group, you can enable and disable:
each group separately:
all groups at the same time. Click Actions ⋮ and select Enable all groups or Disable all groups.
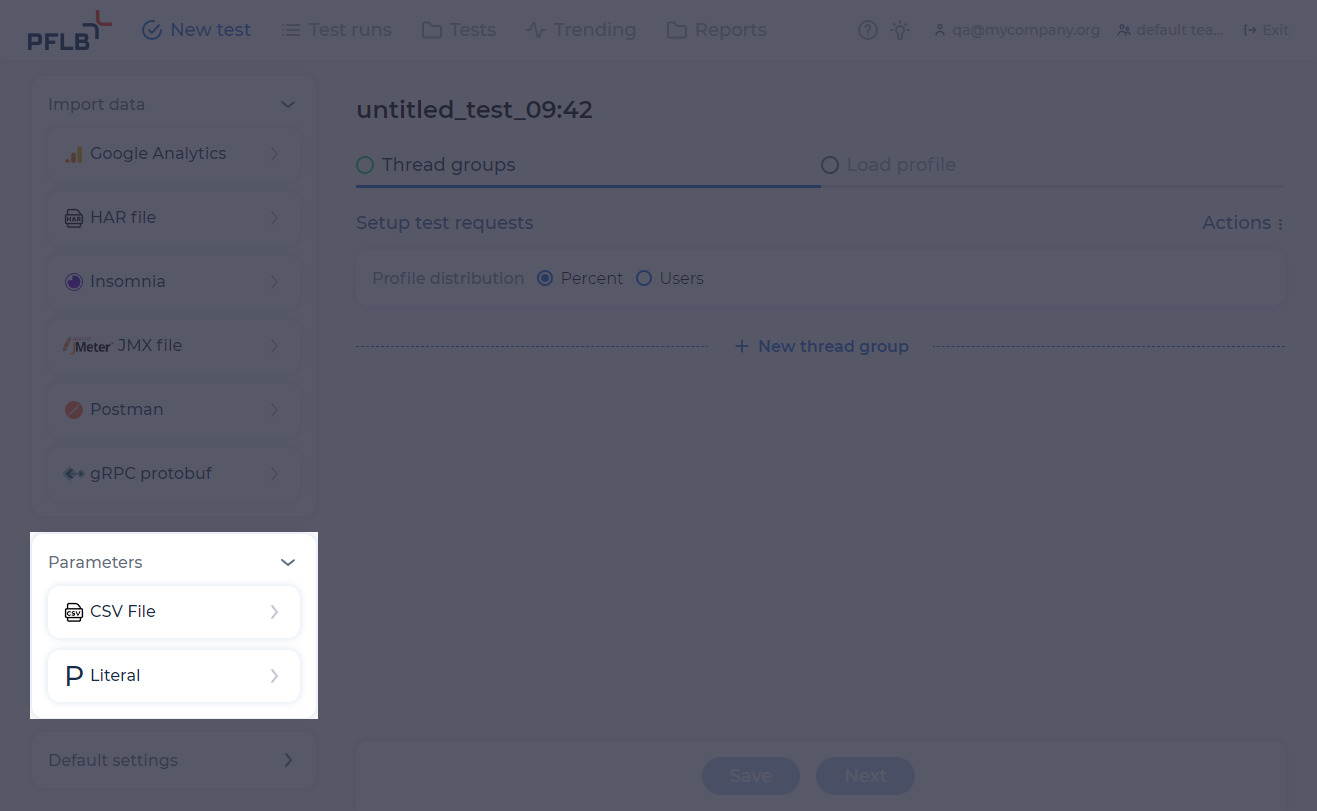
Add parameters#
In PFLB Platform you can add literal and CSV parameters. To add parameters, in the Parameters area, click CSV file or Literal:
For more information, see Add and use parameters.
Link a settings set#
Settings sets allow you to run tests with different settings. You can reuse any settings set in new tests.
To link a settings set to a test, follow these steps:
Click Actions ⋮ and select Link settings set. The window opens:
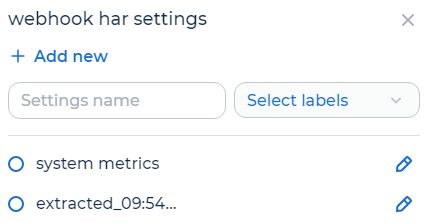
Select the settings set on which you want to link to the test.
Click Link.
For more information, see Add a settings set.
Edit a load profile#
For the Percent mode of the profile distribution:
Click Next. The Load profile tab opens.
Select the type of the test and design the test.
Select the type of load and specify the load parameters. To change the maximum value of a parameter, enter the value manually. The maximum value will increase by 10%.
Stable. FREE STANDARD PRO Allows to run a stable load for a given time after a gradual ramp-up. The test reaches the specified load parameters for the specified acceleration time:

Duration (min). Test duration at maximum load with all VUsers running. Specified in minutes.
Ramp-up time (min). Time allocated to start all VUsers. If set to 0, all VUsers will start simultaneously. Specified in minutes.
Number of VUsers. The number of load threads. The intensity of the load depends on the number of virtual users, timers and response time of the testing system.
Ramp-down time (min). Time allocated to stop all VUsers. If set to 0, all VUsers will stop simultaneously. Specified in minutes.
Scalability test. STANDARD PRO Allows to find system’s maximum capacity, gradually increasing the load during each step:
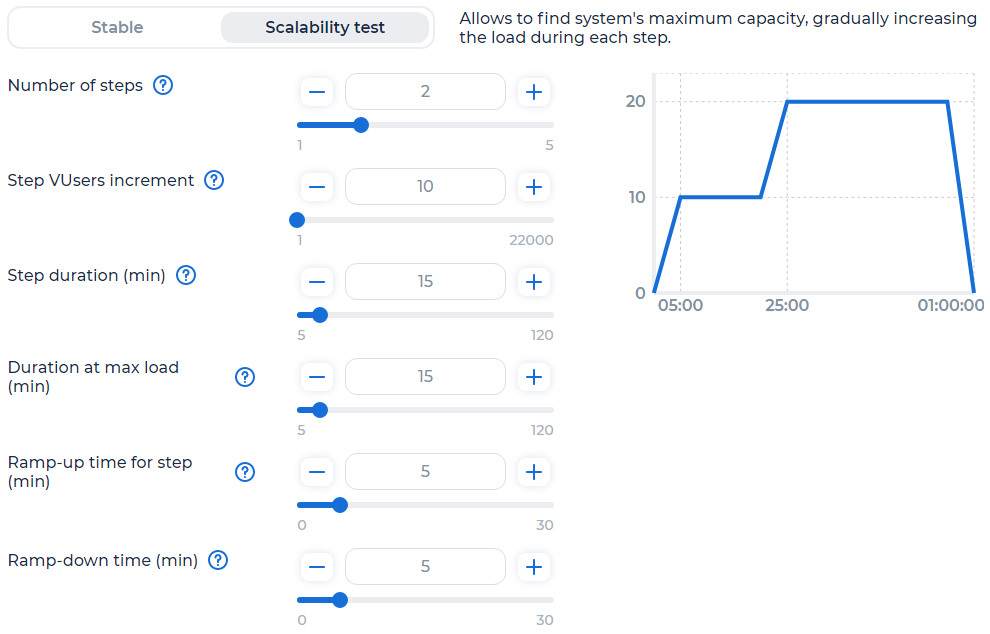
Number of steps. Number of steps before test reaches maximum load.
Step VUsers increment. Number of VUsers started at one step.
Step duration (min). One step duration. Specified in minutes.
Duration at max load (min). Test duration at maximum load when all VUsers are running.
Ramp-up time for step (min). Time allocated to ramp-up VUsers started within the step. If set to 0, all VUsers will start simultaneously. Specified in minutes.
Ramp-down time (min). Time allocated to stop all VUsers. If set to 0, all VUsers will stop simultaneously. Specified in minutes.
For the Users mode of the profile distribution:
Configure the load profile for each group.
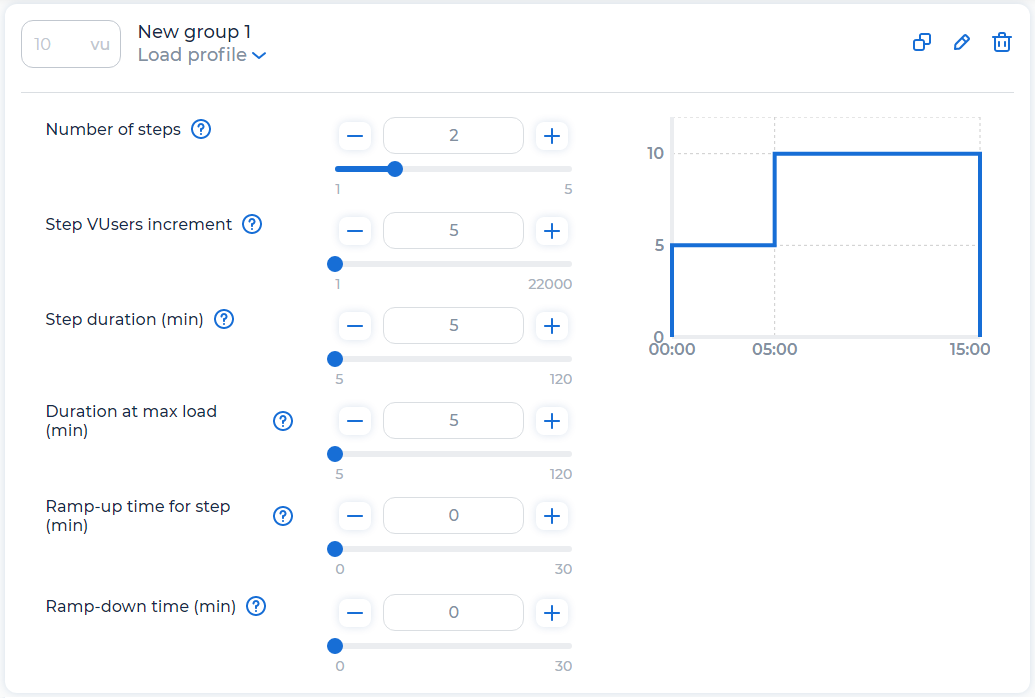
Number of steps. Number of steps before test reaches maximum load.
Step VUsers increment. Number of VUsers started at one step.
Step duration (min). One step duration. Specified in minutes.
Duration at max load (min). Test duration at maximum load when all VUsers are running.
Ramp-up time for step (min). Time allocated to ramp-up VUsers started within the step. If set to 0, all VUsers will start simultaneously. Specified in minutes.
Ramp-down time (min). Time allocated to stop all VUsers. If set to 0, all VUsers will stop simultaneously. Specified in minutes.
Click Next. The Load profile tab opens.
Configure the profile graph display if needed:
To merge the graphs of several steps, click the Merge steps toggle. The toggle becomes available when there are several steps in the transaction.
Select the testing time that you want to consider in detail on the graph.
Select load generators location#
In the drop-down list, select the region in which you run the test:
automatic. Automatic region selection.
AWS Asia Pacific (Mumbai);
AWS Asia Pacific (Tokyo);
AWS Europe (Frankfurt);
AWS Europe (Ireland);
AWS US East (N. Virginia);
AWS US West (N. California).
Note
Only the automatic and AWS US East (N. Virginia) values are available for free users.
Add a comment#
Enter a comment in the Test run description field. You will be able to see this information in the test run details, all tests list, and trend reports, when selecting a specific test run.
Add labels#
Click + Add label and enter the name of the label for the test, if needed.
To display labels in the Test runs page, select the Copy labels from test checkbox. For more information, see Add labels to the test.
Add SLA#
Click SLA and add SLA if needed.
Save and run a test#
To save a test, click Save.
To run the test, click Run test. The test will run after some time.
You can run the test later in the Tests page. For more information, see Run test.
Test’s versions#
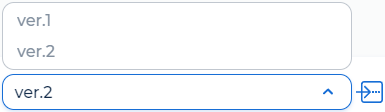
After each saving of changes in the test, a test’s version is created.
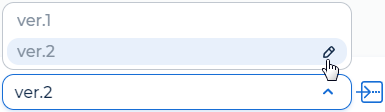
To change or run the specific version of the test, in the lower-left corner click on the drop-down list and select the version:
To rename the version of the test, follow these steps:
In the lower-left corner click on the drop-down versions list.
Hover over the required version and click
:
Enter the name of the version and click
 .
.
To copy the version of the current test into a new test, follow these steps:
Select the version of the test and click
 . The window opens:
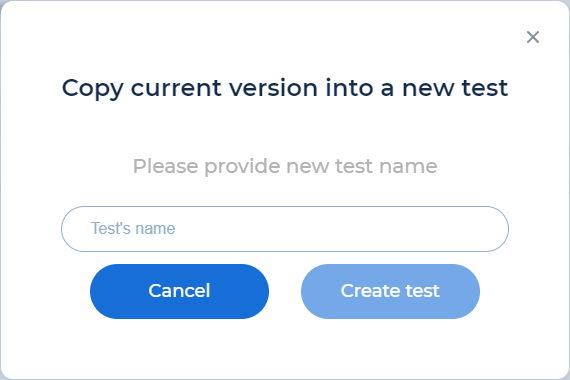
Enter a test’s name and click Create test.